Introduction?
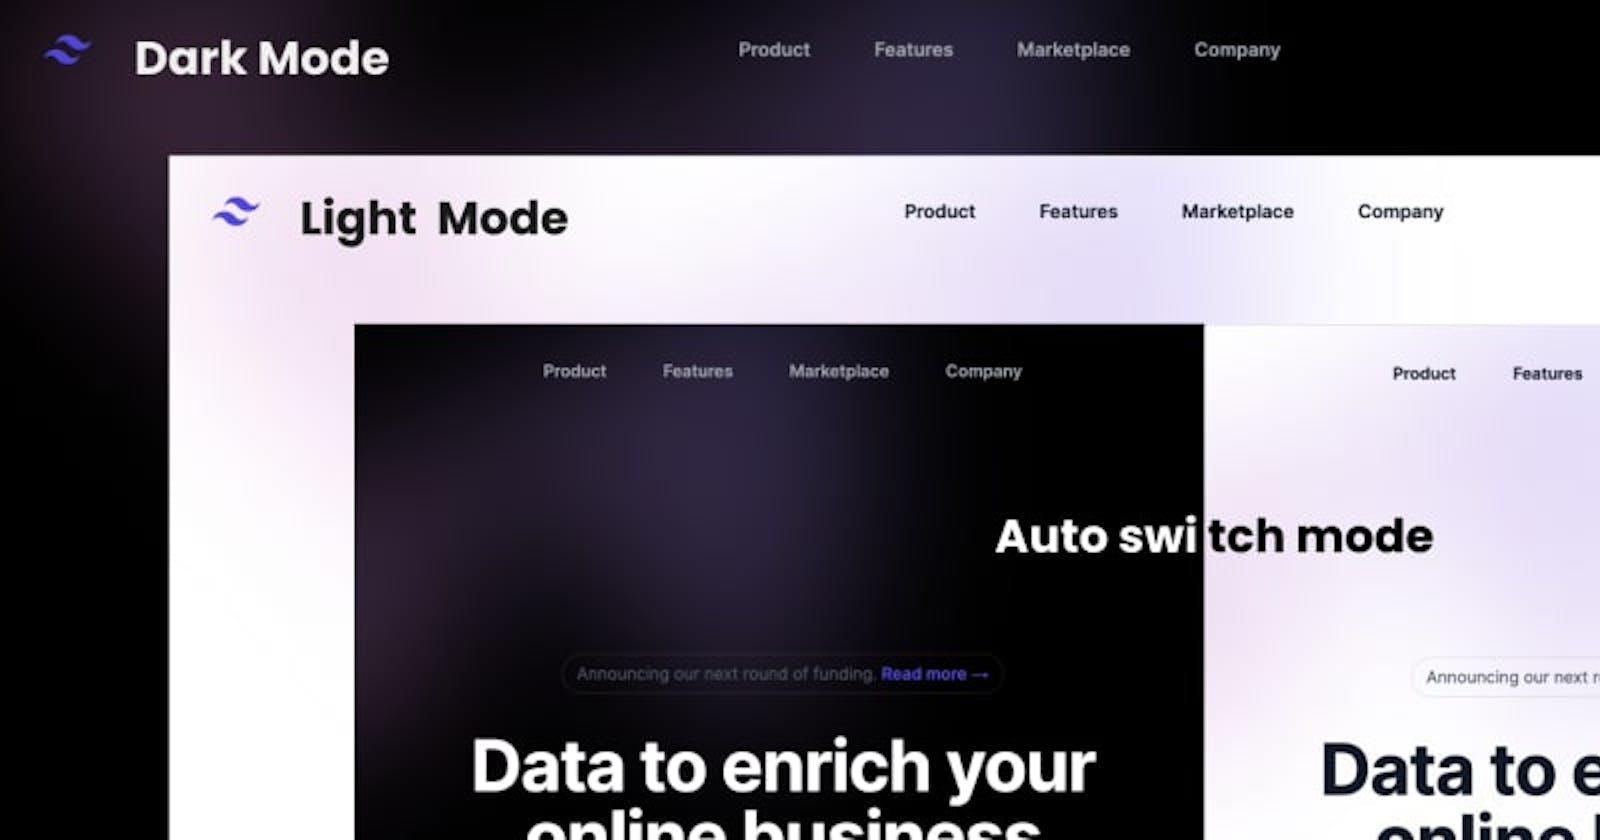
In the ever-evolving world of web development, user experience plays a crucial role in determining the success of a website or web application. One aspect of user experience that has gained significant attention in recent years is the choice between light and dark themes. Users prefer different themes based on their surroundings and personal preferences, and as a developer, you can enhance their experience by offering theme options that adapt to their needs. In this guide, we'll explore how to implement system preferences, light and dark themes in a Next.js application with the help of Tailwind CSS.
Why Implement System Preferences and Theme Switching?
The choice between light and dark themes is not just about aesthetics; it also impacts usability and accessibility. Users often prefer a dark theme in low-light environments, while a light theme is preferred during the day. To provide a seamless user experience, you can implement system preferences to detect the user's preferred theme and offer a manual override to cater to individual preferences.
Prerequisites
Before we dive into the implementation, ensure you have the following prerequisites in place:
Setup NextJS with Tailwind CSS
Setup tailwind configuration for theme support
Build theme option and persist the theme
Support System preference and manual user set theme
1. Setup NextJS with Tailwind CSS
Already we converted about setup the tailwindCSS and nextJS in previous article. if want look into it click here.
2. Setup tailwind configuration for theme support
By default, Tailwind CSS will use the prefers-color-scheme CSS media feature to determine whether to enable dark mode. This means that your application will automatically switch to dark mode if the user's operating system is set to dark mode. To enable dark mode in Tailwind CSS, add the following to your tailwind.config.js file:
module.exports = {
  darkMode: 'class',
};
3.Build theme option and persist the theme Changing theme JS implementation
function changeTheme(themeName?: string){
  if(themeName === 'dark') {
    document.body.classList.add('dark');
    localStorage.setItem('theme', 'dark');
  } else if(themeName === 'light'){
    document.body.classList.remove('dark');
    localStorage.setItem('theme', 'light');
  } else {
    localStorage.removeItem('theme');
    // if alreay set the value will remove it
    document.body.classList.remove('dark');
  }
}
4.Support System preference and manual user set theme
function getDefautTheme() {
  const defaultTheme = localStorage.getItem('theme');

  if(defaultTheme === 'dark' || (!('theme' in localStorage)
     && window.matchMedia('(prefers-color-scheme: dark)').matches)) {
    document.body.classList.add('dark');
  } else {
    if(document.body.classList.contains('dark')){
      document.body.classList.remove('dark');
    }
  }
}
The above the code you can see the option window.matchMedia, This query get the browser which is auto switch the theme based on the user preference settings.
That's all and Thanks for reading my article.
Stay Updated with Our Latest Content!
If you found this article informative and valuable, consider subscribing to our YouTube channel for more insightful content, tutorials, and updates. By subscribing, you'll stay up-to-date with the latest developments in web development, technology, and much more.
Don't miss out on the opportunity to expand your knowledge and skills. Join our growing community of learners and enthusiasts today!

